Once you’ve researched how to grow mushrooms, purchased your equipment, and reviewed what kind of mistakes to keep in mind, you can put all of that preparedness into action! But how does one know how to get knowledge on choosing the right mushroom spores to grow magic mushrooms at home? At Top Mushroom Spore, we can help you offer guidance on selecting the right mushroom spores and growing mushrooms at home. There are over 200 species of mushrooms within the genus of Psilocybe. Check out the ultimate guide to choosing the right mushroom spores below.
Where Can You Buy Psilocybin Spores?
There is a long list of websites that can buy syringes of psilocybin spores. We may have bias, but we recommend purchasing psilocybin spores online at our Top Mushroom Spores website. A psilocybin spore syringe is an oral syringe that has water and mushroom spores. Spore prints are pieces of paper with spores stamped into them. Spore prints can be created by laying a fresh mushroom cap onto the paper and letting the spores fall. Some buy these psilocybin spores to research them under a microscope or start mushroom growing.
Keep in mind that buying psilocybin spores with the intent to cultivate them is illegal, except in Denver, Colorado; Oakland, and Santa Cruz, California, as well as Ann Arbor, Michigan, where growing mushrooms at home, selling and even possessing psilocybin has been considered decriminalized.
The Different Types of Magic Mushroom Spores
A strain is a genetic variant of a specific species. Let’s look at some of the most popular species of mushrooms so that you can be choosing the right mushroom spores for you.
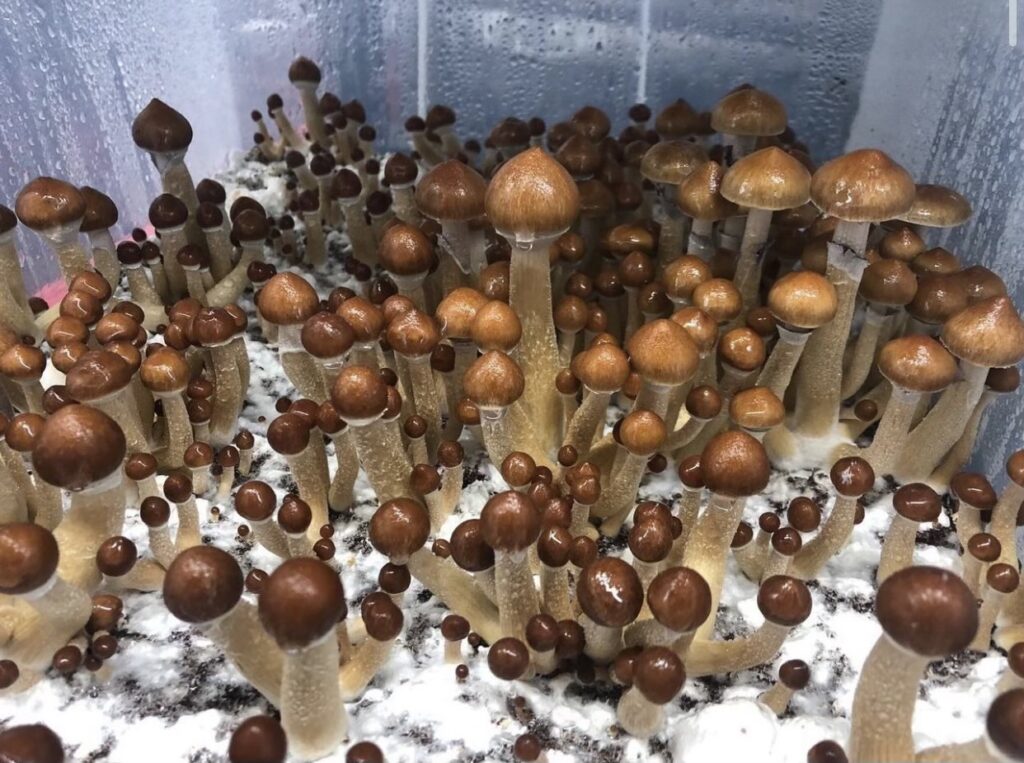
Golden Teacher Mushrooms: Golden Teacher Mushrooms are known for having a lower psilocybin content than other cubensis. For beginners, this is a great place to start. Consider buying our high-quality golden teacher mushrooms. These mushrooms look like long winding stems in the wild and have golden, beautiful caps.
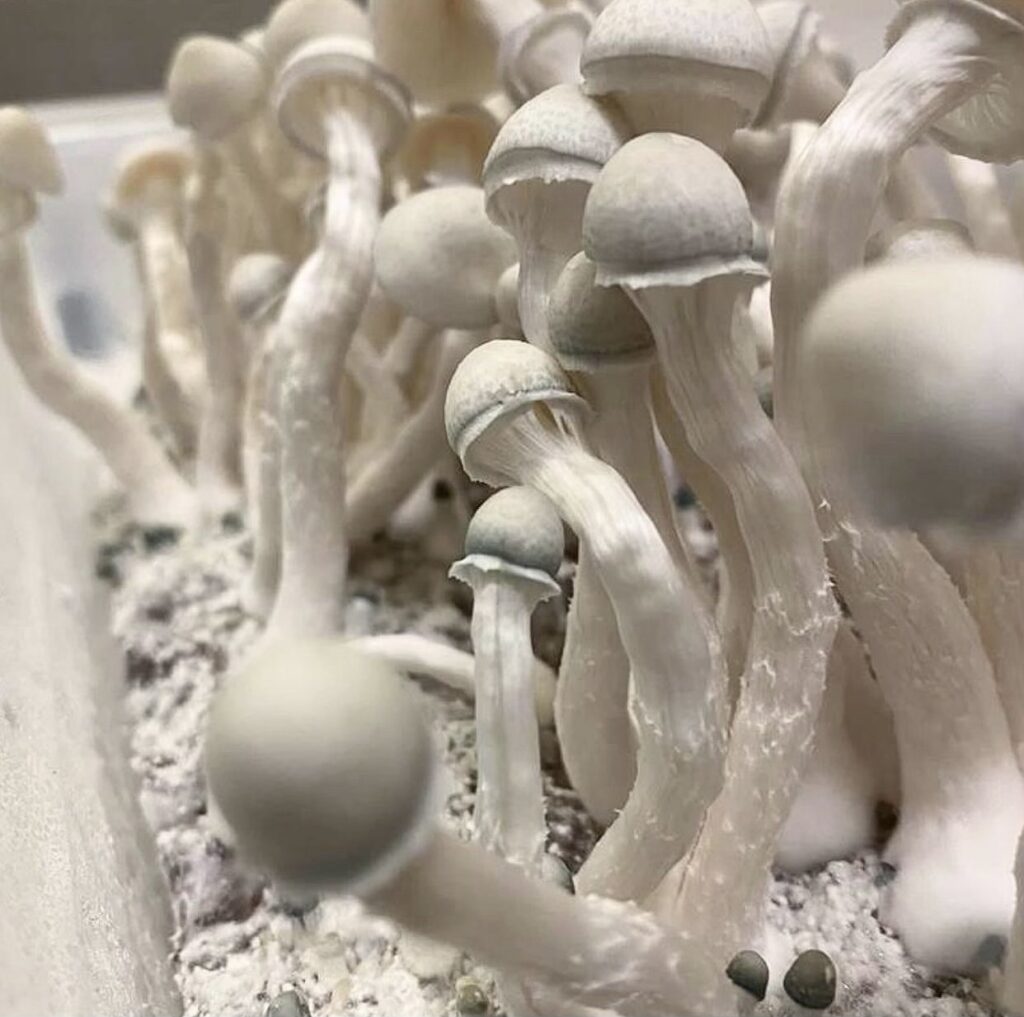
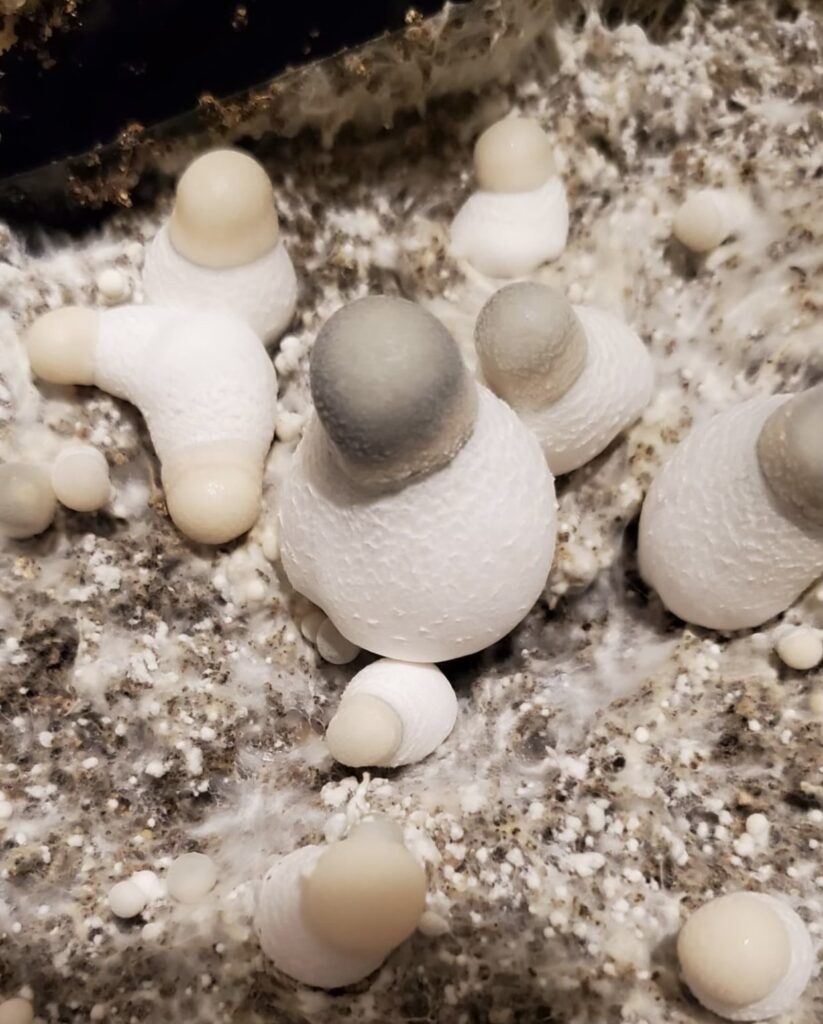
Penis Envy Mushrooms: These mushrooms are a little different. In the wild, they have more of a thicker stem and a more bulbous cap, which is nowhere near as wide as a Golden Teacher Mushroom. It also has a higher psilocybin concentration at maturity.
Cambodian, Costa Rican, and Burma Mushrooms: these mushrooms are named after the location that they are from. These strains can vary in appearance and potency, but they are all genetically similar and usually bruise blue when you see the oxidation.
Learning How to Grow Mushrooms at Home
Learning how to grow mushrooms at home can be a task, but with enough education, you can do it! Magic Mushroom growing can be done in simple steps. The first step is to buy high-quality spores. Hopefully, the short list above can give you a good idea of the different types of spores out there.
Step 1: Prepare your mason jars. You’ll need to drill holes into the mason jar tops to keep it incubated correctly.
Step 2: Add the Vermiculte. In a large bowl, add about 6 cups of vermiculite. It is usually dusty, so it might be smart to wear a mask while you do this. Some vermiculite needs gloves to keep your hands clean.
Step 3: Add the water in, we recommend, about 75%, mixed with a large spoon. This is one of the most critical steps because you want an excellent field capacity.
Step 4: Add Brown Rice Flour to your vermiculite. This is important because it should keep the area damp. You should mix about 3 cups of brown rice flour in.
Step 5: Fill your mason jars up, leaving about ½ inch space at the top.
Step 6: Sterilize your jars so they don’t have any contaminants. You can use a pressure cooker or a large pot to do this.
Step 7: Inoculate your jars and ensure they are completely sterilized.
Step 8: Incubate your jars and wait about 2-3 weeks. Maybe check on them every 1-1.5 weeks to see if and how they are progressing. You should aim to have a substrate that is completely colonized with mycelium. Your substrate will look bright white with tiny if any, brown vermiculite/brown rice flour showing. You should wait until your jars are completely white before taking them out.
After step 8 is done, the fruiting cycle officially begins! You can prepare your fruiting chamber and birth, dunk, and roll your cakes. After taking your cakes out, you can introduce your cakes to the fruiting chamber. Once the cakes turn blue and release spores, the cycle is complete, and you’re ready to harvest the mushrooms.
Harvesting Mushroom Tips
The harvesting process can differ depending on the type of mushroom you choose. You can have small mushrooms growing in 5-10 days. Make sure that you have a humid environment but no contamination.
Keep in mind that if you start to notice black spots on your cakes, then this might mean that mold is growing. Make sure to dispose of your cakes and disinfect your environment immediately. If your mushrooms have white fuzz at the base, this is normal and due to improper airflow. To combat this, you should fan more frequently or get a low-speed fan on a timer.
After taking care of your mushrooms for about 2-3 weeks, you’re ready to harvest them! Make sure you harvest per cake and not by the whole entire batch. If one cake has mushrooms that are ready to be picked, you can choose them without having to wait on the other mushroom cakes to catch up. Make sure you’re super gentle with the mushrooms. Try not to yank on the mushrooms, or they can fall apart easily. You also don’t need to wash them as you can easily cut off the parts you don’t want to eat. Save the mushrooms you intended for mushroom growing.
We hope this article helped you choose the right mushroom spores for growing mushrooms at home. At Top Mushroom Spores, we offer the best and most premium mushrooms in the market. You can ensure that you’ll be choosing the right mushroom spores for your mushroom-growing journey.